Second post in the series of Flutter and Google Maps.
In the First post we have set up Google Maps and dependencies in a Flutter project.
In this post, I will cover how to add embedded Google Maps to your Flutter project.
Table of contents
Open Table of contents
Desired Outcome
We want to have a simple Flutter app with a Google Map embedded in it.
The map should appear on the child screen after User taps on the Show Map button.
The map should show a marker at the user’s current location.
Initial State
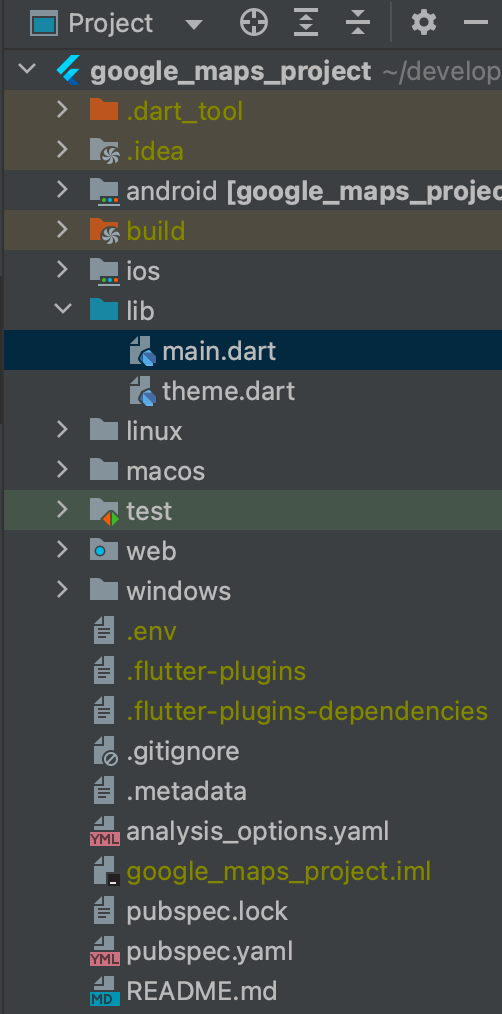
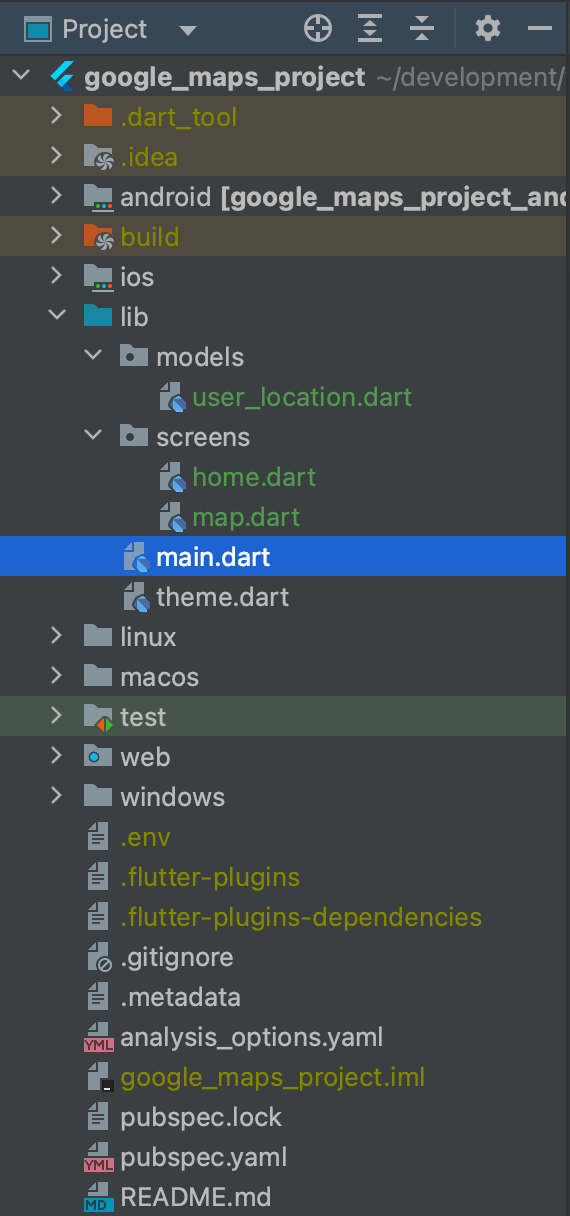
The current folder structure of the project is as following:
Initial state of code including settings for .env from the previous post:
1import 'package:flutter/material.dart';2import 'package:flutter_dotenv/flutter_dotenv.dart';3import 'package:google_maps_project/theme.dart';4
5void main() async {6 WidgetsFlutterBinding.ensureInitialized();7
8 await dotenv.load(fileName: ".env");9
10 runApp(const MyApp());11}12
13class MyApp extends StatelessWidget {14 const MyApp({super.key});15
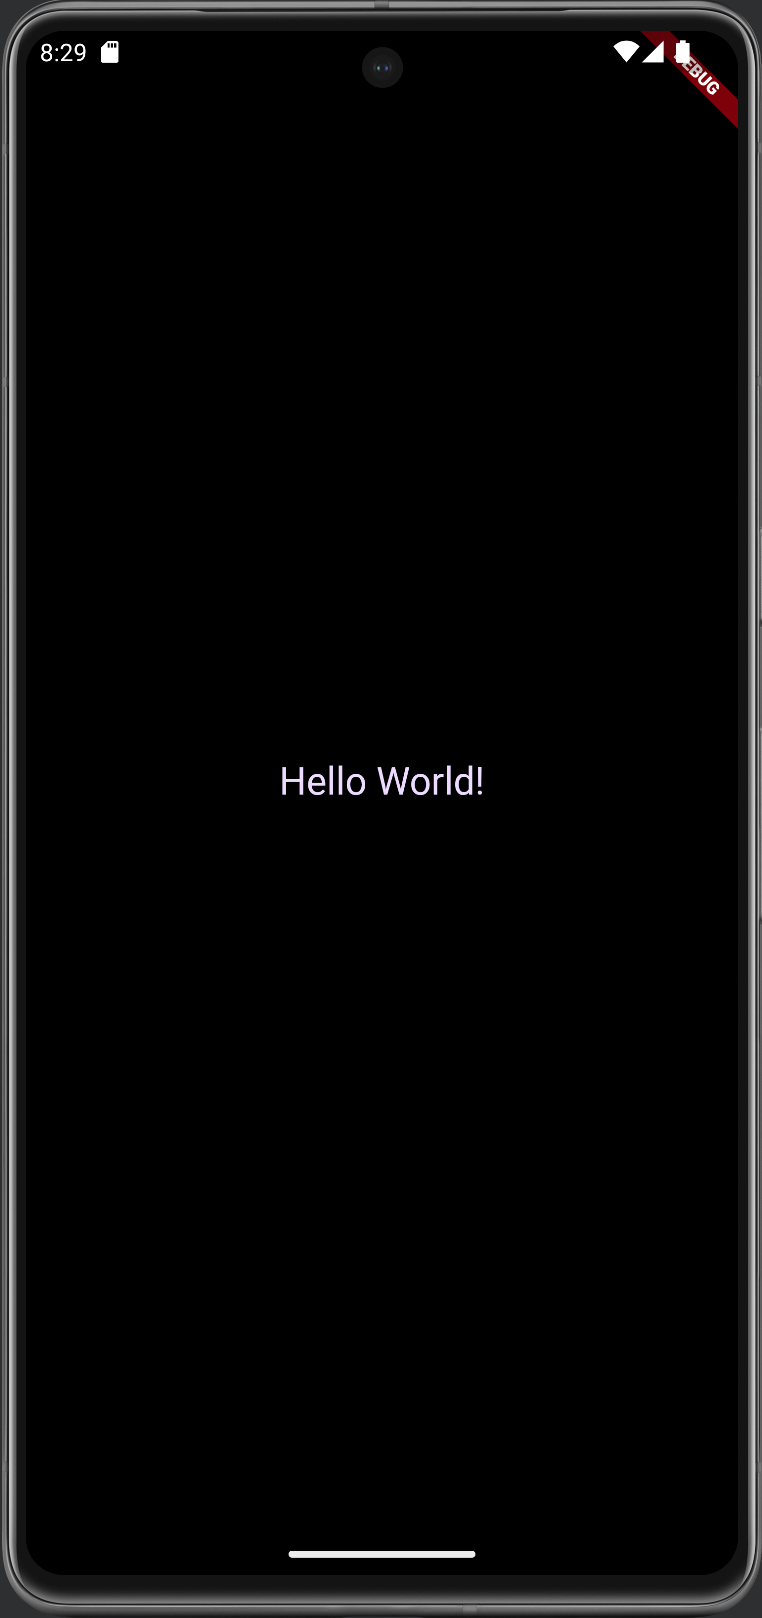
16 // This widget is the root of your application.17 @override18 Widget build(BuildContext context) {19 return MaterialApp(20 title: 'Flutter Demo',21 theme: defaultTheme,22 home: Center(23 child: Text(24 'Hello World!',25 style: Theme.of(context).textTheme.titleLarge!.copyWith(26 color: Theme.of(context).colorScheme.primaryContainer,27 ),28 ),29 ),30 );31 }32}I put theme into a separate file for convenience.
1import 'package:flutter/material.dart';2import 'package:google_fonts/google_fonts.dart';3
4final defaultColorScheme = ColorScheme.fromSeed(5  brightness: Brightness.dark,6  seedColor: Colors.lightBlue,7  background: Colors.blueGrey,8);9
10final defaultTextTheme = GoogleFonts.ubuntuCondensedTextTheme().copyWith(11  titleSmall: GoogleFonts.ubuntuCondensed(12    fontWeight: FontWeight.bold,13  ),14  titleMedium: GoogleFonts.ubuntuCondensed(15    fontWeight: FontWeight.bold,16  ),17  titleLarge: GoogleFonts.ubuntuCondensed(18    fontWeight: FontWeight.bold,19  ),20);21
22final defaultTheme = ThemeData(useMaterial3: true).copyWith(23  scaffoldBackgroundColor: defaultColorScheme.background,24  colorScheme: defaultColorScheme,25  textTheme: defaultTextTheme,26);
Note:
theme.dartis optional, use your own setup for theming
Add a new Home screen
We will add a new screen to the project to serve as a home screen: HomeScreen.
Create screens folder and add a new file home.dart. Check in-line comments in the code bellow for explanations.
import 'package:flutter/material.dart';

class HomeScreen extends StatefulWidget {  const HomeScreen({super.key});
  @override  State<HomeScreen> createState() {    return _HomeScreenState();  }}
class _HomeScreenState extends State<HomeScreen> {  @override  Widget build(BuildContext context) {    return Scaffold(      appBar: AppBar(        title: const Text('Google Maps Case'),      ),      body: Center(
        child: Text(          'Hello World!',          style: Theme.of(context).textTheme.titleLarge!.copyWith(                color: Theme.of(context).colorScheme.primaryContainer,              ),        ),      ),    );  }}
Remember to update main.dart file to use our new Home Screen
14 collapsed lines
# Example: lib/main.dartimport 'package:flutter/material.dart';import 'package:flutter_dotenv/flutter_dotenv.dart';import 'package:google_maps_project/screens/home.dart';import 'package:google_maps_project/theme.dart';
void main() async { WidgetsFlutterBinding.ensureInitialized();
await dotenv.load(fileName: ".env");
runApp(const MyApp());}
class MyApp extends StatelessWidget { const MyApp({super.key});
// This widget is the root of your application. @override Widget build(BuildContext context) { return MaterialApp( title: 'Flutter Demo', theme: defaultTheme,
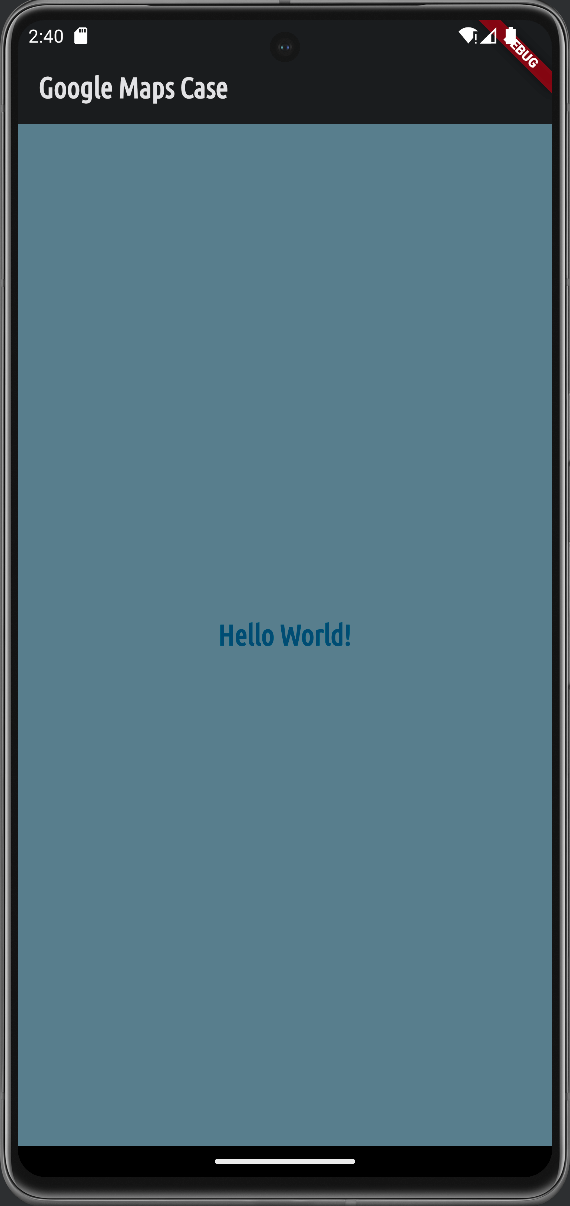
home: const HomeScreen(), ); }}If you follow theme setup from the above part, your app look should be as next:
Now, let’s replace a dummy text with a button.
Idea is next: when a user clicks on the button, we will show interactive Google Map widget.
17 collapsed lines
import 'package:flutter/material.dart';
class HomeScreen extends StatefulWidget { const HomeScreen({super.key});
@override State<HomeScreen> createState() { return _HomeScreenState(); }}
class _HomeScreenState extends State<HomeScreen> { void _showInteractiveMap() async { return; }
@override Widget build(BuildContext context) { return Scaffold( appBar: AppBar( title: const Text('Google Maps Case'), ),
body: Column( mainAxisAlignment: MainAxisAlignment.center, children: [ Center( child: TextButton.icon( icon: const Icon(Icons.map), label: const Text('Show Map'), onPressed: _showInteractiveMap, ), ), ], ), );2 collapsed lines
}}We will leave Home Screen for a moment, our next step is to add Map Screen.
Add a new Map Screen
We will follow similar concept as with Home Screen.
Create a new file map.dart under screens folder.
Check in-line comments in the code bellow for details.
import 'package:flutter/material.dart';import 'package:google_maps_flutter/google_maps_flutter.dart';

class MapScreen extends StatefulWidget {  const MapScreen({super.key});
  @override  State<MapScreen> createState() {    return _MapScreenState();  }}
class _MapScreenState extends State<MapScreen> {  @override  Widget build(BuildContext context) {
    const latitude = 37.422;    const longitude = -122.084;
    return Scaffold(      appBar: AppBar(        title: const Text('Interactive Map'),      ),
      body: GoogleMap(
        onTap: null,
        initialCameraPosition: const CameraPosition(          target: LatLng(            latitude,            longitude,          ),          zoom: 8,        ),
        markers: {          const Marker(            markerId: MarkerId('my-marker-id-1'),            position: LatLng(              latitude,              longitude,            ),          ),        },      ),    );  }}
Now we need to open Map Screen after user click’s on Show Map button on the Home Screen.
It’s a small change in the home.dart file.
2 collapsed lines
import 'package:flutter/material.dart';import 'package:google_maps_flutter/google_maps_flutter.dart';import 'package:google_maps_project/screens/map.dart';10 collapsed lines
class HomeScreen extends StatefulWidget { const HomeScreen({super.key});
@override State<HomeScreen> createState() { return _HomeScreenState(); }}
class _HomeScreenState extends State<HomeScreen> {
void _showInteractiveMap() async { Navigator.of(context).push<LatLng>( MaterialPageRoute( builder: (ctx) => const MapScreen(), ), ); }14 collapsed lines
@override Widget build(BuildContext context) { return Scaffold( appBar: AppBar( title: const Text('Google Maps Case'), ), body: Column( mainAxisAlignment: MainAxisAlignment.center, children: [ Center( child: TextButton.icon( icon: const Icon(Icons.map), label: const Text('Show Map'),
onPressed: _showInteractiveMap,7 collapsed lines
), ), ], ), ); }}Restart your app and click on the Show Map button. You should see a new screen opened with a map rendered all over it.
Use Current User’s Location
In this section, we will request user permission to read the current location.
If user rejects to provide permission, we will use fallback lat and lng values as in the previous section.
Otherwise, we will show Google Map’s Marker at User’s current location.
Note: If you use a simulator (Android/iOS), it has predefined default location values set for you. It can be changed under specific simulator settings.
We will leverage location package, which you installed in the first post.
First, for better code organization, we will create a model to store location data.
Create a new folder models in the src folder, and add a new file user_location.dart.
We will add a simple class to store latitude and long values, so we can reuse it in various places.
1class UserLocation {2  const UserLocation({3    required this.latitude,4    required this.longitude,5  });6
7  final double latitude;8  final double longitude;9}
Open home.dart screen file and let’s update it. Follow in-line comments in the code below.
2 collapsed lines
# Example: lib/screens/home.dartimport 'package:flutter/foundation.dart';import 'package:flutter/material.dart';import 'package:google_maps_flutter/google_maps_flutter.dart';import 'package:google_maps_project/models/user_location.dart';12 collapsed lines
import 'package:location/location.dart';import 'package:google_maps_project/screens/map.dart';
class HomeScreen extends StatefulWidget { const HomeScreen({super.key});
@override State<HomeScreen> createState() { return _HomeScreenState(); }}
class _HomeScreenState extends State<HomeScreen> {
var _isLoading = false;
UserLocation _userLocation = UserLocation(latitude: 37.422, longitude: -122.084);
@override void initState() { super.initState(); _getCurrentLocation(); }
void _getCurrentLocation() async { setState(() { _isLoading = true; });
Location location = Location();
bool serviceEnabled; PermissionStatus permissionGranted; LocationData locationData;
serviceEnabled = await location.serviceEnabled();
if (!serviceEnabled) { serviceEnabled = await location.requestService(); if (!serviceEnabled) { setState(() { _isLoading = false; }); return; } }
permissionGranted = await location.hasPermission();
if (permissionGranted == PermissionStatus.denied) { permissionGranted = await location.requestPermission(); if (permissionGranted != PermissionStatus.granted) { setState(() { _isLoading = false; }); return; } }
locationData = await location.getLocation();
final lat = locationData.latitude; final lng = locationData.longitude;
if (lat == null || lng == null) { setState(() { _isLoading = false; }); return; }
if (kDebugMode) { print('Using Users current location'); }
_userLocation = UserLocation(latitude: lat, longitude: lng); setState(() { _isLoading = false; }); }11 collapsed lines
void _showInteractiveMap() async { Navigator.of(context).push<LatLng>( MaterialPageRoute( builder: (ctx) => MapScreen( location: _userLocation, ), ), ); }
@override Widget build(BuildContext context) {
Widget content = Column( mainAxisAlignment: MainAxisAlignment.center, children: [ Center( child: TextButton.icon( icon: const Icon(Icons.map), label: const Text('Show Map'), onPressed: _showInteractiveMap, ), ), ], );
if (_isLoading) { content = const Center(child: CircularProgressIndicator()); }
return Scaffold( appBar: AppBar( title: const Text('Google Maps Case'), ),
body: content ); }}And the last part,
we need to update map.dart screen file to use provided location parameter with UserLocation data.
2 collapsed lines
import 'package:flutter/material.dart';import 'package:google_maps_flutter/google_maps_flutter.dart';import 'package:google_maps_project/models/user_location.dart';
class MapScreen extends StatefulWidget {
const MapScreen({super.key, required this.location});
final UserLocation location;16 collapsed lines
@override State<MapScreen> createState() { return _MapScreenState(); }}
class _MapScreenState extends State<MapScreen> { @override Widget build(BuildContext context) { return Scaffold( appBar: AppBar( title: const Text('Interactive Map'), ), body: GoogleMap( onTap: null, initialCameraPosition: CameraPosition( target: LatLng(
widget.location.latitude, widget.location.longitude, ), zoom: 8, ), markers: { Marker( markerId: const MarkerId('my-marker-id-1'), position: LatLng(
widget.location.latitude, widget.location.longitude,7 collapsed lines
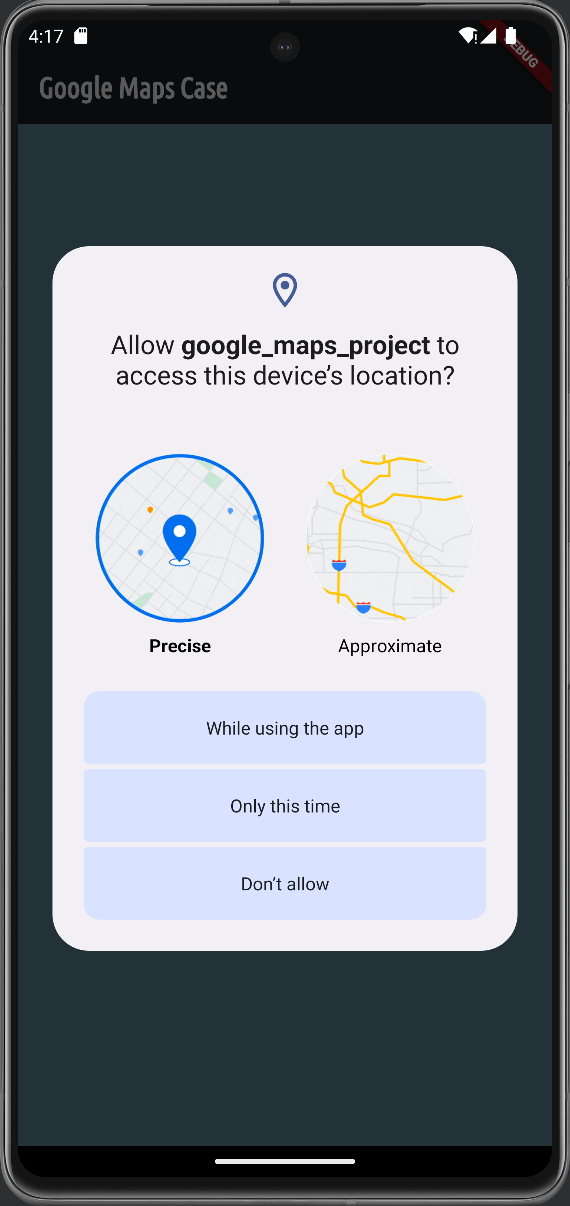
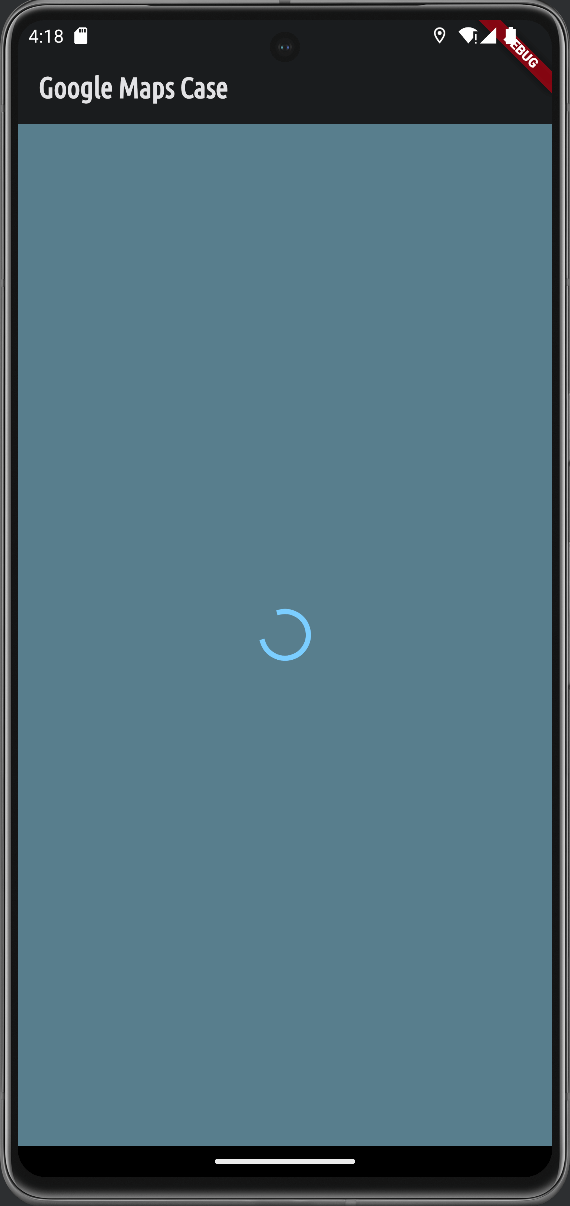
), ), }, ), ); }}Once you are done updating your code, reload application, you should see request to provide Location permissions,
approve it, and you will see a loading circle animation created with CircularProgressIndicator for a couple of seconds.
If everything worked well, in the console you will see a message:
1I/flutter (15845): Using Users current locationIf not, the application will use fallback location data silently.
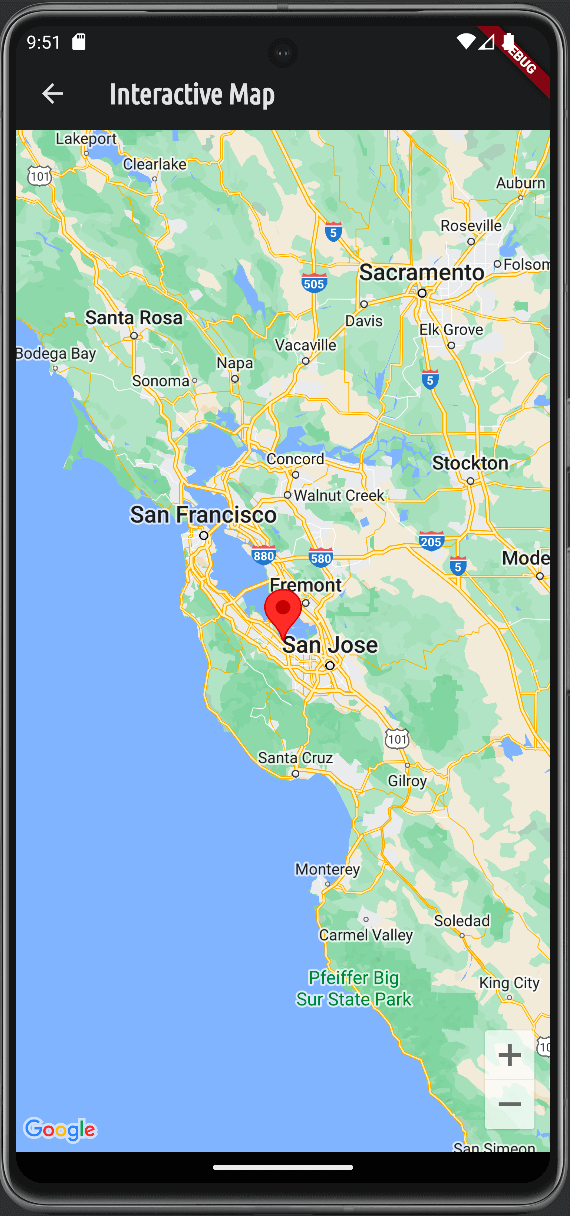
Click on the Show Map button, and you should see a marker placed at your Device’s location.
Note: implementation of error/fault tolerance flows is not a part of this post
Summary
In this post we used two packages: google_maps_flutter
and location to show Google Maps embedded into screen
and added request for User’s location to show it also on the mentioned map.
We created a couple of screens and a model to support our goals:
screens/home.dart- contains implementation ofHome Screen. It’s a simple screen, with a CTA button toShow Map. On this screen, we implemented request for User’s current location with a simple fallback to use default location if permissions request failed.screens/map.dart- purpose of this screen is to show interactive/embedded Google Map with current locationMarker.models/user_location.dart- a simple class/model to hold location data. We use an object of this class to pass data fromHome ScreentoMap Screen
Congratulations, we were able to cover all TODO items from the Desired Outcome.
Now, you should treat well yourself, go and have some tasty gummy bears! ◝(ᵔᵕᵔ)◜